
Did you know that it’s possible to make waterways cleaner and healthier with just a bit of clever engineering and vegetation? Floating wetlands are the answer—a simple yet brilliant way to purify water naturally while creating a habitat for wildlife. But what exactly are they?
Floating Wetlands 101
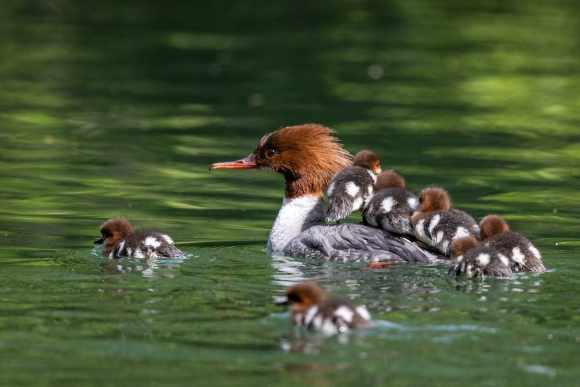
A floating wetland is an artificial island crafted from durable, buoyant materials that supports vegetation that naturally cleans water. As these plants grow, their roots absorb excess nutrients and pollutants from the water, enhancing water quality and providing habitat for aquatic wildlife.
If you’re curious to explore more, you can check out podcasts on floating treatment wetlands or explore other relevant resources focusing on real-world applications and success stories. This way, you’ll get to gen an even deeper understanding of their role in reducing pollution and supporting aquatic ecosystems.
Now, over to the process:
Step 1: Site Assessment and Feasibility Study
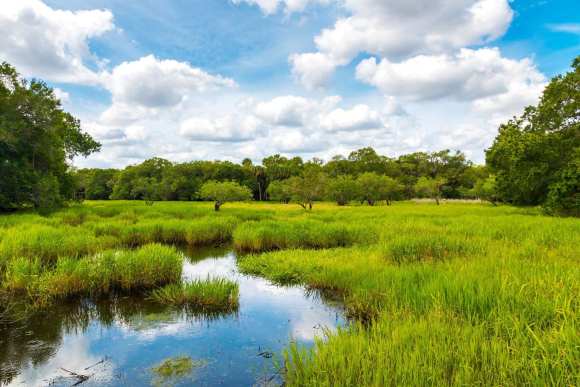
Before starting your floating wetlands project, make sure the waterway is a good fit. First up, test the water. Grab samples and check for excess nutrients (think nitrogen and phosphorus), heavy metals, or any organic matter. This helps you know what you’re dealing with and how the wetland can help clean up.
Next, take a good look at the waterway itself. How big is it? How deep? Check the flow rate and see how much wind and waves it gets. This can help you figure out how to design the wetland and keep it in place.
Finally, consider the current residents—both plants and animals. It’s important that the floating wetland fits in nicely. The point is to add value, not to disrupt the local life.
Step 2: Design and Planning
Once you know the lay of the land, you can focus on sketching out what this floating wetland will look like and what it’s meant to do.
You’ve got to ask yourself: What’s the main goal here? Are we aiming to cut down on some of the nutrients, provide a new home for wildlife, or just make the place look better? Having clear goals will guide the entire project.

Next, you should figure out how big this wetland needs to be to meet your goals and what shape it should take. This isn’t random. It’s about balancing effectiveness with not getting in the way of boats or the flow of the waterway.
Once this is out of the way, you can turn your sights to plant selection. Go for native species that are not only good at soaking up pollutants but can also handle living on a floating mat. They do the most work on this project.
Last but not least, pick the right materials for the floating base. Sustainable is a great way to go. Think recycled plastics or natural fibers that can handle the wet and wildlife without polluting the waterway.
Step 3: Permitting and Regulatory Compliance
Before you start building, you’ll need to reach out to your local environmental agency (or whichever authority oversees waterway management in your area). Permits ensure the project goes off without a hitch. These agencies can also give you important insights, like how to avoid damaging fragile areas or disturbing protected wildlife.
Once you have your permits, double-check that the whole project aligns with any relevant rules or laws. For example, are the plants you’re introducing native and safe for the local ecosystem? Does your waterway fall under a protected area?
You’ll also want to check whether your floating wetland affects navigable waterways. You wouldn’t want to block a boat route or cause trouble for local anglers.
Step 4: Construction of the Floating Wetland
Start by putting together the floating platform. Use materials you selected, whether it’s recycled plastics or natural fibers?. Make sure the platform can handle the weight of fully-grown plants, plus withstand wind, waves, and other elements.
To keep your wetland floating at just the right level, you’ll need to add buoyancy elements. Floats or buoyant layers can go a long way. You want something that keeps the wetland stable—floating too low or tipping over would defeat the purpose. Plus, the plants need access to both water and air, so staying level is key.
Finally, add soil or a suitable planting medium onto the floating platform. The soil needs to be the right kind for your chosen plants. They’ll be anchored here, drawing nutrients as they help filter the water.
Step 5: Installation and Planting
Install anchors or a tethering system that’s strong enough to hold the wetland in place but still allows it to move naturally with the water. This can keep it stable and effective, especially in changing weather conditions.
Once the platform is anchored, introduce vegetation. Space the plants out so they have room to grow and spread their roots. This spacing helps plants pull pollutants from the water effectively.
Step 6: Maintenance and Monitoring
Set a schedule to regularly check everything out. Look at the structural integrity of the platform, make sure the anchoring system is holding up, and keep an eye on the health of the plants. This routine helps catch small issues before they become big problems.
Every so often, test the water around your wetland. Are you seeing improvements in quality? Is it doing what you hoped? Based on these results, you might decide to adjust the size of the wetland or switch up some of the plants to better meet your goals.
Also, keep in mind that sometimes plants don’t make it, or they might get a bit too wild. Replace any that are struggling or diseased, and manage any overgrowth to keep the wetland looking good and working efficiently.
Once you’ve got all this done, get the community involved. Teach locals about what you’re doing and why it’s important. Maybe even inspire some to volunteer. This not only helps with maintenance but also builds a team of environmental stewards right in your neighborhood.
Closing Thoughts
Getting floating wetlands going purify your waterways and enhance the natural beauty of your community. This guide has given you steps and tips to create and maintain one.
If you’re ready to make a tangible impact on local water health, consider starting small and scaling up as you see improvements. And remember, every step you take can revive your waterway and inspire your community to join in these sustainable efforts.
Leave a Reply